
Installation
You’ll be up and running in under 5 minutes. The setup wizard handles everything after the initial command.
Composer install (recommended)
Section titled “Composer install (recommended)”composer create-project totalcms/totalcms my-site --stability=betaBeta note: The
--stability=betaflag is required while 3.5 is in beta. Drop it once 3.5 stable ships.
This downloads Total CMS into my-site/, then runs a short post-install script that asks you a few setup questions. Make sure your server meets the System Requirements before installing.
What the install asks
Section titled “What the install asks”After Composer finishes downloading, you’ll be prompted with up to three questions.
1. Layout
Section titled “1. Layout”Where T3 lives in your URL space.
| Choice | What it does | Pick this if… |
|---|---|---|
| root (default) | T3 owns the whole domain. Front controller at public/index.php; requests go to T3 by default | T3 is your whole site |
| subpath | T3 lives at /tcms/. public/ is free for your own frontend build | You’re using T3 as a headless CMS alongside a separate frontend (Next.js, Astro, static, etc.) |
Picking subpath moves public/index.php and public/.htaccess into public/tcms/ automatically.
2. Starter pack (root layout only)
Section titled “2. Starter pack (root layout only)”A starter pre-seeds your install with sample pages and content so you have something to look at right away. Bundled starters:
| Starter | What you get |
|---|---|
| minimal | A blank canvas. Empty page tree, no demo content |
| blog | Blog homepage, post layout, sample posts |
| business | Homepage with sections, about page, contact form |
| portfolio | Project gallery layout with sample entries |
Pick none if you want a fully empty install. You can run tcms builder:init <starter> later to apply one.
3. Frontend pipeline (root layout only)
Section titled “3. Frontend pipeline (root layout only)”A Vite-based bundle for compiling your site’s CSS and JS, drops a frontend/ directory at the project root that you can npm install into. Builder layouts can reference compiled assets via {{ cms.builder.css(...) }}.
Default: no. You can add it later with tcms builder:frontend.
After the install
Section titled “After the install”- Point your web server’s document root to
my-site/public/ - Visit your site in a browser:
- Root layout: visit
/ - Subpath layout: visit
/tcms/
- Root layout: visit
The setup wizard starts automatically.
Non-interactive installs
Section titled “Non-interactive installs”For CI or scripted installs, set environment variables and the prompts use those instead of asking:
| Variable | Values | Default |
|---|---|---|
TCMS_LAYOUT | root | subpath | root |
TCMS_STARTER | none | minimal | blog | business | portfolio | none |
TCMS_FRONTEND | 0 | 1 | 0 |
TCMS_LAYOUT=root TCMS_STARTER=blog TCMS_FRONTEND=1 \ composer create-project totalcms/totalcms my-site --stability=beta --no-interactionAlternative: zip download
Section titled “Alternative: zip download”If Composer isn’t available — shared hosting, restricted environments, or you just prefer file uploads — install from a zip:
- Download the Total CMS zip from totalcms.co
- Extract it to your server
- Point your web server’s document root at the extracted
public/directory - Visit your site — the setup wizard starts automatically
The zip workflow is otherwise identical to Composer: same wizard, same admin, same update flow.
Setup wizard
Section titled “Setup wizard”When you first visit your install URL, the wizard runs through these screens.
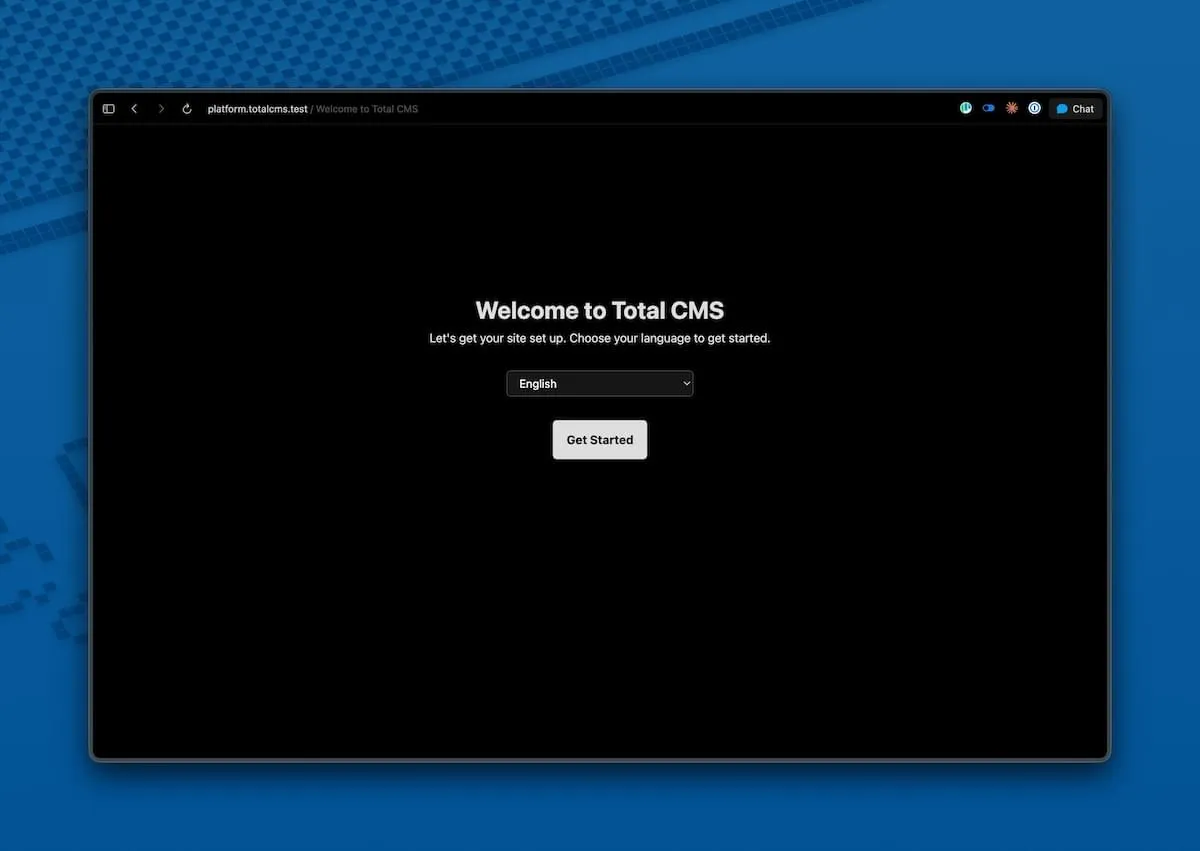
1. Welcome
Section titled “1. Welcome”Choose your preferred language for the admin interface:
| Code | Language |
|---|---|
en_US | English (US) |
en_GB | English (UK) |
de_DE | Deutsch |
es_ES | Español |
nl_NL | Nederlands |
This setting only affects the admin. Your public-facing site uses its own translations.
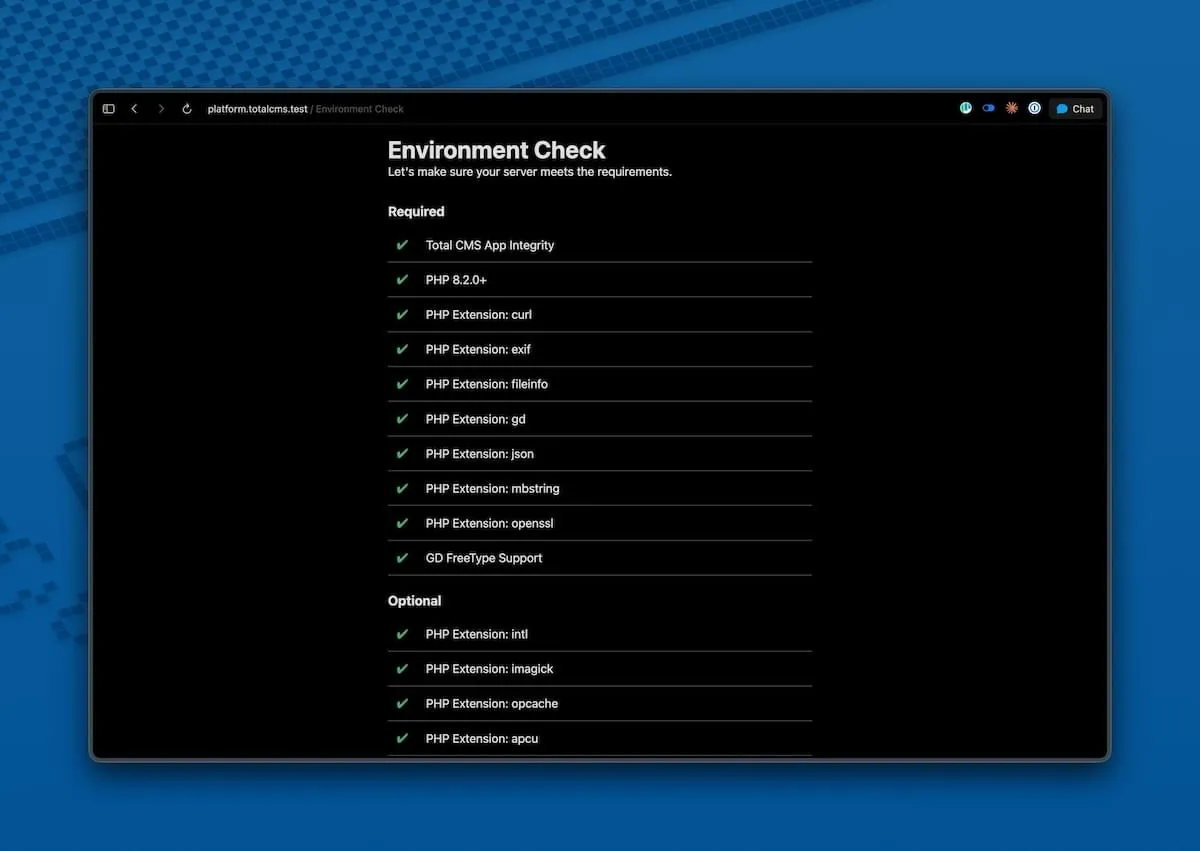
2. Environment check
Section titled “2. Environment check”The wizard verifies your server meets the System Requirements. All required PHP extensions must pass; recommended ones show as suggestions.
If something’s missing, you’ll see exactly what to install. Fix it, refresh, and the check re-runs automatically.
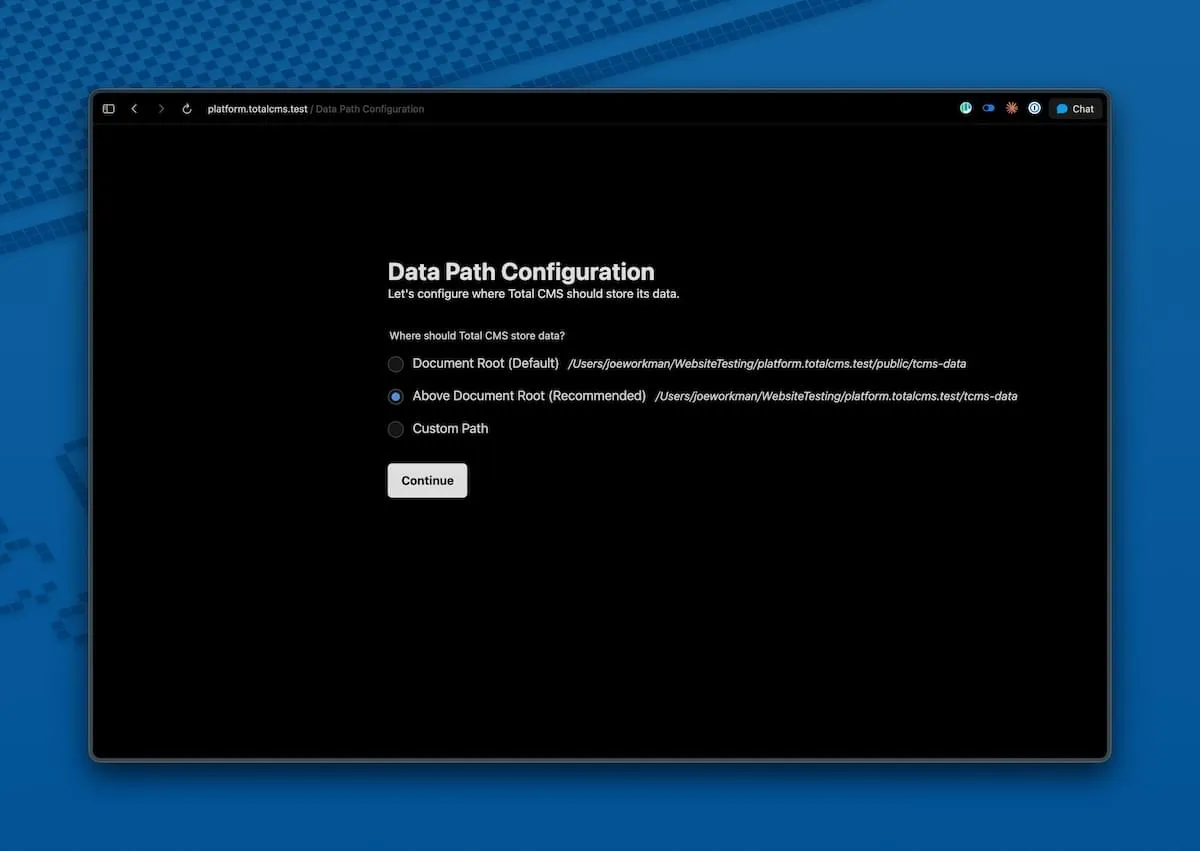
3. Data path
Section titled “3. Data path”Choose where Total CMS stores your content. This directory is separate from the application — updates never touch your content.
| Option | Path | When to choose |
|---|---|---|
| Document Root | <docroot>/tcms-data | Simplest. Works on every host |
| Above Document Root | <parent>/tcms-data | Recommended for production — keeps content outside the web tree |
| Custom Path | Any absolute path | When the defaults don’t fit your hosting setup |
If the data directory ends up inside your docroot, T3 drops an .htaccess in it that blocks direct web access.
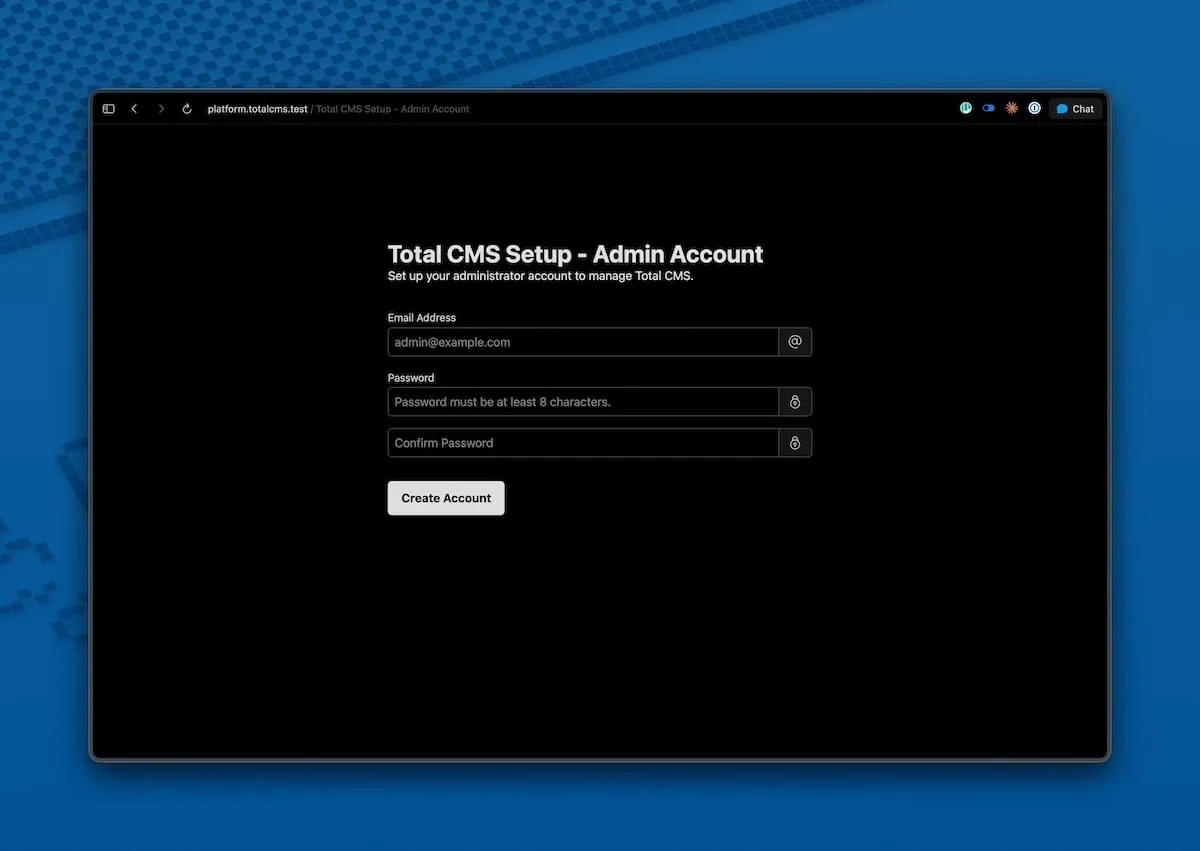
4. Admin account
Section titled “4. Admin account”Create your first administrator account. You’ll log in with these credentials every time.
This account has full privileges, including installing extensions and modifying schemas — pick a strong password.
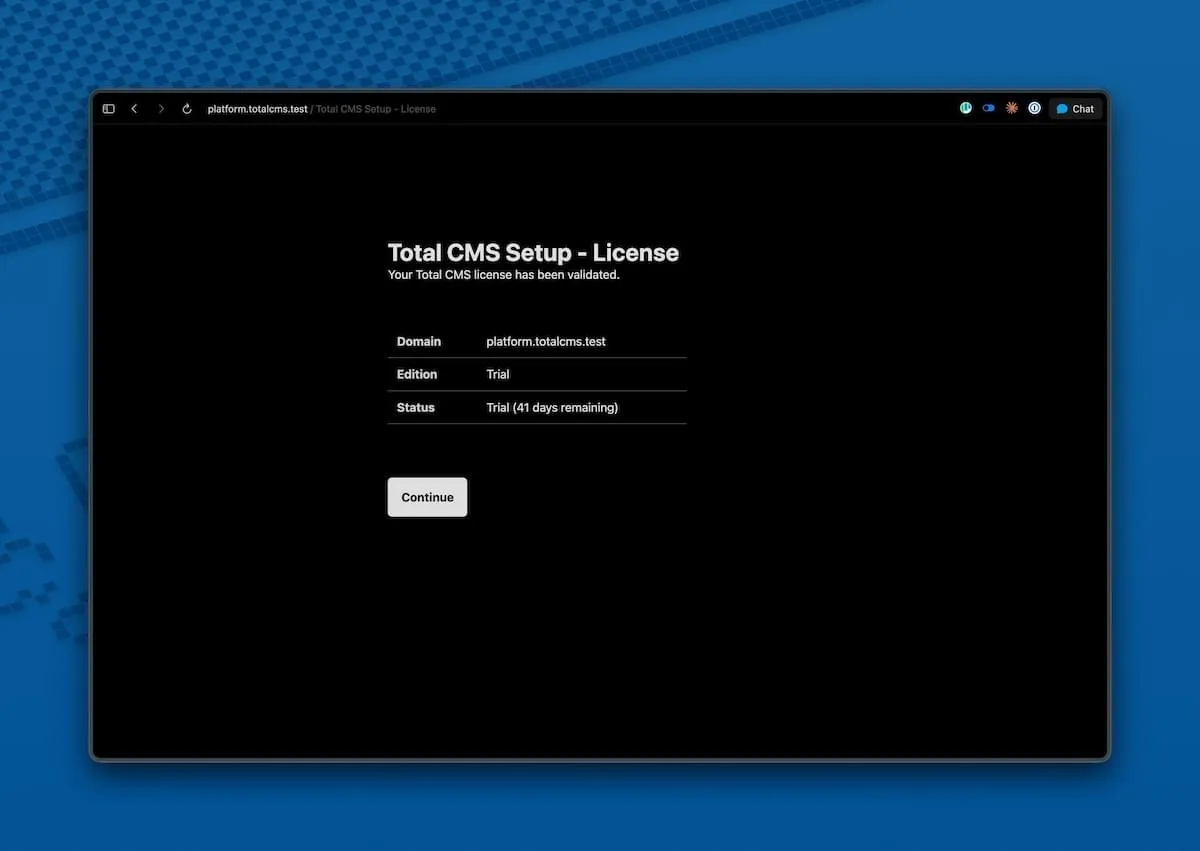
5. License
Section titled “5. License”Your license is validated automatically. New installations start with a free trial; if you’ve already purchased a license for this domain, it’s detected on first run.
You can change the license later from Settings → License Manager in the admin.
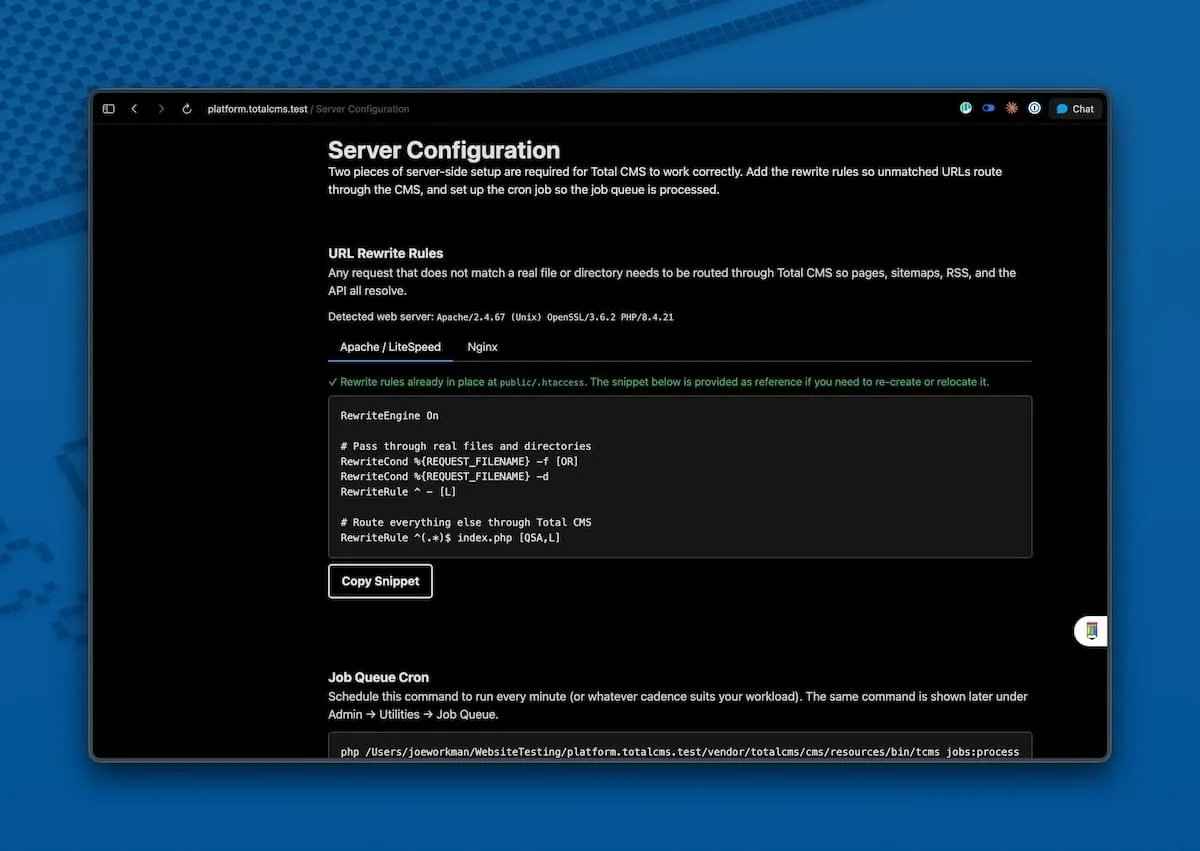
6. Server config
Section titled “6. Server config”The wizard renders the exact rewrite-rule snippets you need for your server. For Composer installs, the Apache rules ship in .htaccess automatically — the wizard tells you everything’s already in place. For other servers (Nginx, Caddy), copy the snippet into your server config and reload.
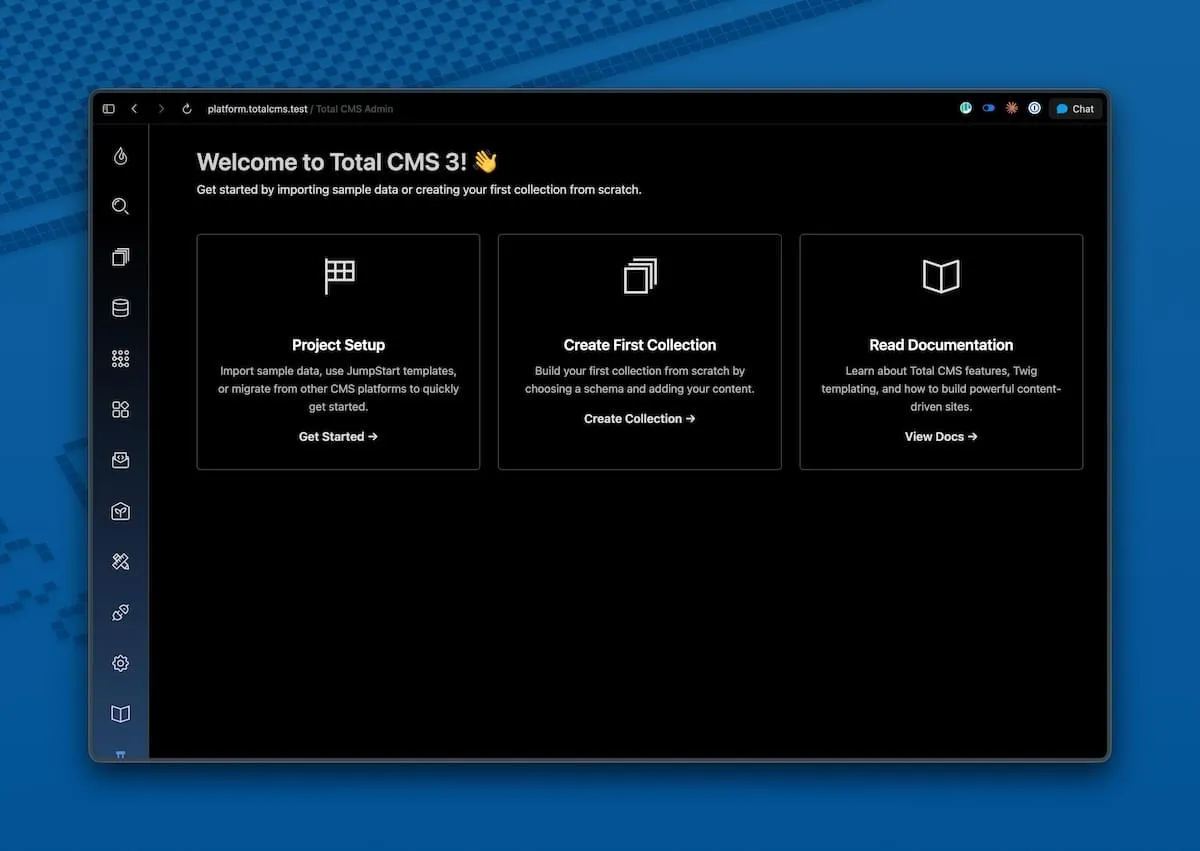
You’re done
Section titled “You’re done”After the wizard completes, you land in the admin dashboard. From here:
- Follow the Your First Site tutorial to add content and render it on a public page (about 10 minutes)
- Or take the Dashboard tour for an overview of the admin
Directory structure
Section titled “Directory structure”After installation:
/var/www/example.com/├── my-site/ # Application│ ├── config/ # Configuration files│ ├── public/ # Web root — point your server here│ │ ├── index.php # Entry point│ │ └── assets/ # CSS, JS, images│ ├── resources/ # Templates, schemas, translations, docs│ ├── src/ # PHP source│ ├── vendor/ # Composer dependencies│ └── version.json # Version info└── tcms-data/ # Your content (separate from the app) ├── .schemas/ # Custom schema definitions ├── .system/ # Settings, API keys ├── builder/ # Site Builder templates ├── templates/ # Custom Twig templates └── [collections]/ # Collection data (blog, gallery, etc.)The application (my-site/) and your content (tcms-data/) are deliberately separate.
Updates only touch the application. Your content is never affected.
Web server configuration
Section titled “Web server configuration”Most servers work out of the box. Reference configs below.
Apache
Section titled “Apache”T3 ships an .htaccess for URL rewriting. Just ensure mod_rewrite is enabled:
sudo a2enmod rewritesudo systemctl reload apache2A minimal virtual host:
<VirtualHost *:80>    ServerName example.com    DocumentRoot /var/www/example.com/my-site/public
    <Directory /var/www/example.com/my-site/public>        AllowOverride All        Require all granted    </Directory></VirtualHost>
Nginx needs a full server block with explicit rewriting and PHP-FPM proxying. See Nginx Configuration for the complete reference.
Caddy and FrankenPHP
Section titled “Caddy and FrankenPHP”Both work like Nginx via PHP-FPM (or FrankenPHP’s classic mode). Point them at public/index.php with a standard PHP fastcgi proxy and a try_files-style fallback for routing.
LiteSpeed
Section titled “LiteSpeed”Works out of the box using the bundled .htaccess. No extra config needed.
T3 ships with a CLI tool for routine operations — collection management, JumpStart imports, cache clearing, and more:
php my-site/resources/bin/tcms infoSee CLI Commands for the full reference.
Troubleshooting
Section titled “Troubleshooting”Setup wizard doesn’t appear
Section titled “Setup wizard doesn’t appear”Your web server is pointing at the wrong directory. T3’s web root is my-site/public/, not my-site/. Update your virtual host’s DocumentRoot and reload.
Permission denied errors
Section titled “Permission denied errors”The web server user (www-data on Debian/Ubuntu, apache on RHEL/CentOS) needs write access to:
tcms-data/my-site/cache/my-site/logs/my-site/tmp/
sudo chown -R www-data:www-data tcms-data my-site/{cache,logs,tmp}Required extension missing
Section titled “Required extension missing”The wizard tells you which one. On Debian/Ubuntu:
sudo apt install php8.2-{extension}sudo systemctl reload apache2 # or php8.2-fpmRefresh the wizard — the check re-runs automatically.
Blank page or 500 error
Section titled “Blank page or 500 error”Check my-site/logs/ for specific error messages. Common causes:
- PHP version below 8.2
- A required extension didn’t reload after install
- File permissions on
tcms-data/ormy-site/cache/
404 on every page
Section titled “404 on every page”URL rewriting isn’t working.
- Apache: verify
mod_rewriteis enabled and the virtual host hasAllowOverride All - Nginx / Caddy / FrankenPHP: check the
try_filesdirective — see Nginx Configuration
License validation fails
Section titled “License validation fails”- Verify
curlis installed (php -m | grep curl) - Confirm outbound HTTPS from the server isn’t blocked by a firewall
- Make sure the domain you’re installing on matches your license
Getting help
Section titled “Getting help”If something’s still not working:
- Check
my-site/logs/for specific error messages - Search the Community Forum
- Review the Deployment Guide for production-specific issues