
Your First Site
By the end of this page you’ll have a real blog post rendering on a public URL — and the muscle memory for how Total CMS fits together. About 10 minutes if you have Total CMS installed already; add a few more if you don’t.
Prerequisites
Section titled “Prerequisites”If Total CMS isn’t installed yet, follow the Installation guide first. When the wizard asks for a starter pack, the minimal starter is the cleanest base for this tutorial.
Picked a different starter? Not a problem. The
blog,business, andportfoliostarters already include builder pages and templates — you can still follow along, but consider using a unique URL like/postsin step 4 so it doesn’t collide with what’s already there.
1. Open the admin
Section titled “1. Open the admin”Visit your install URL and log in. You’ll land on the dashboard.
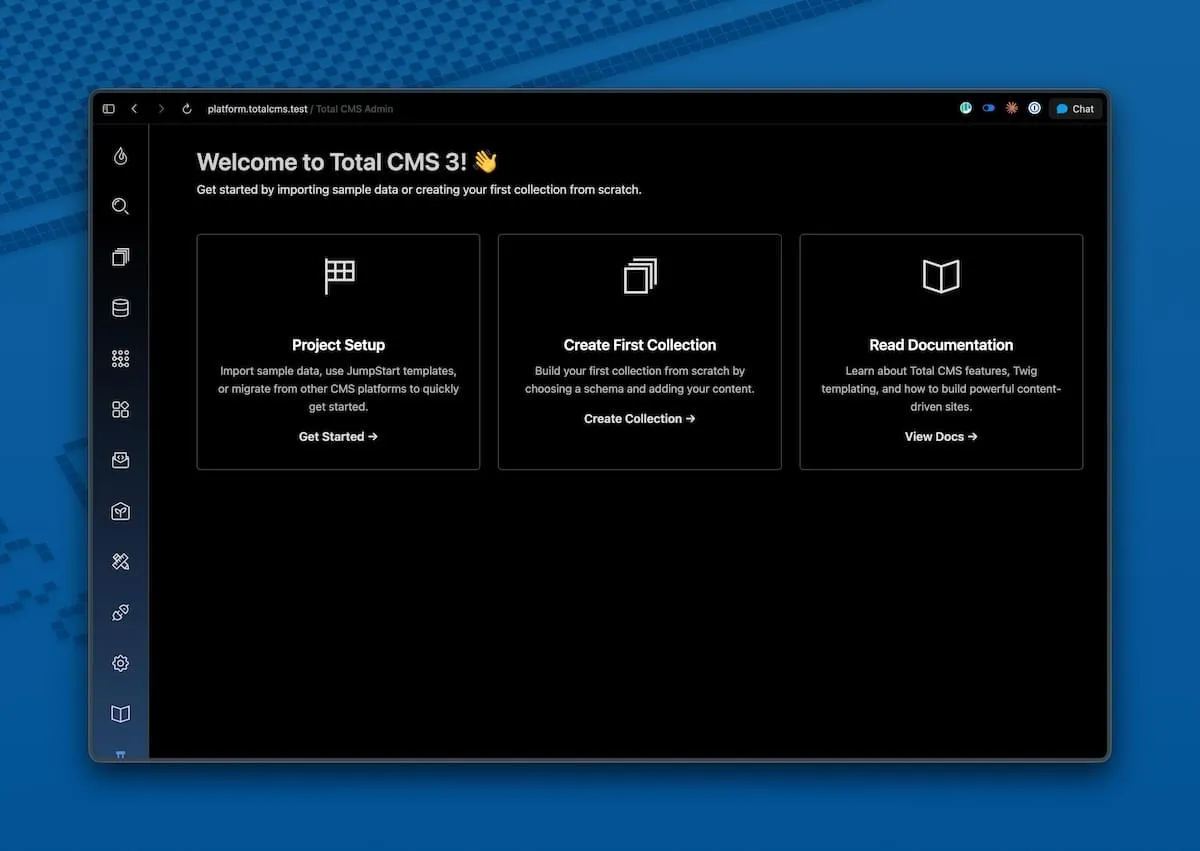
The left sidebar holds your main navigation. Two icons we’ll use today:
- Collections — your content (blog posts, images, products, anything)
- Builder — your Site Builder pages (URLs and templates)
2. Create your collections
Section titled “2. Create your collections”A new install doesn’t ship with content collections — you choose what you need. To get the standard ones in a single click, find the Project Setup link on the dashboard and open it.
Click Setup Default Collections. Total CMS creates the standard collections — blog, gallery, image, file, and more — each wired up with the matching schema. This process could take a little while.
Already have collections from a starter pack (
blog,business,portfolio)? You can skip this step. The collections you need already exist.
3. Add a blog post
Section titled “3. Add a blog post”Click Collections in the sidebar. You should now see blog in the list — click into it and hit + New Post
button at the top.
Fill in:
| Field | Value |
|---|---|
| Title | Hello, Total CMS |
| Summary | A paragraph or two — whatever you like |
| Content | A paragraph or two — whatever you like |
| (rest) | Leave the defaults |
Click Save (or cmd+S). Your post lands in the collection’s list.
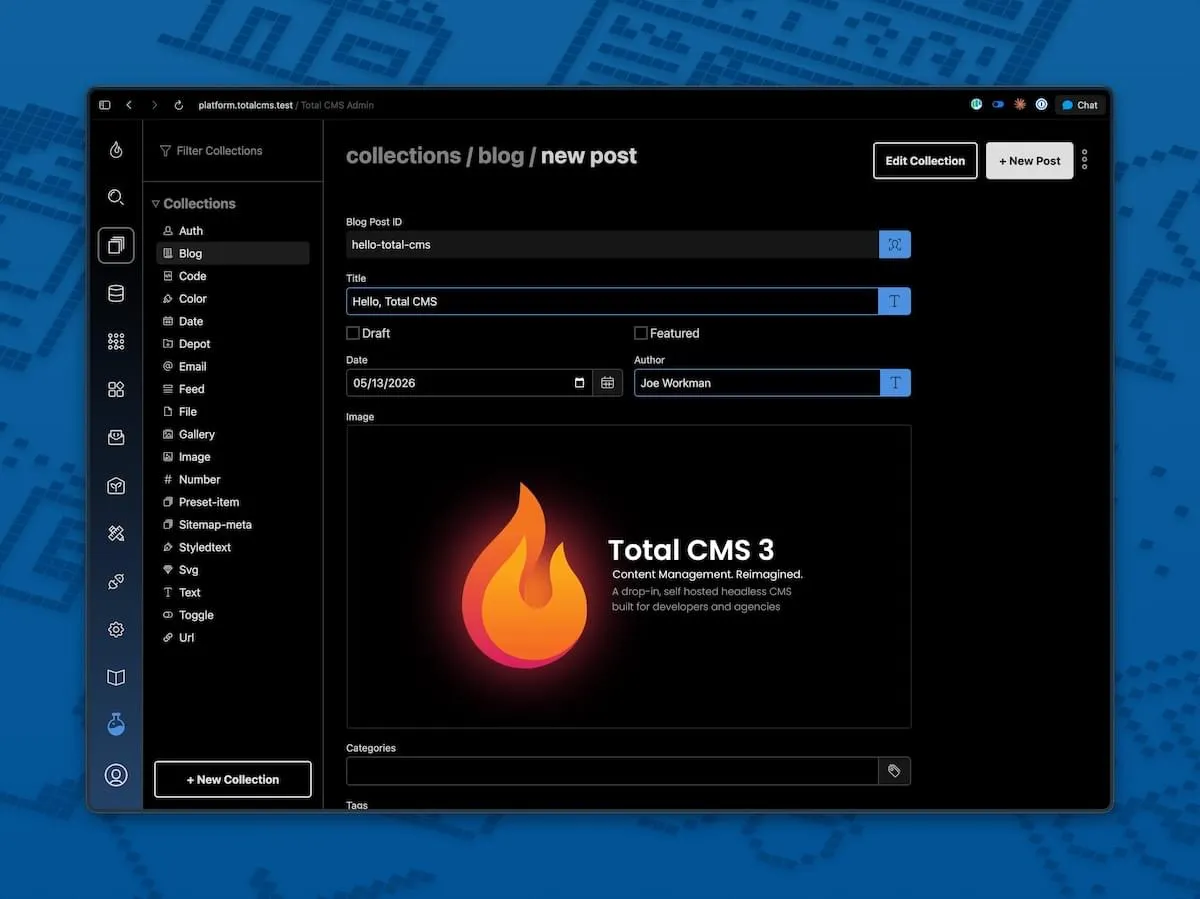
You just created your first object — one record in the blog collection. The fields you filled in (title, content) are the object’s properties, and the shape they conform to (which properties exist, what type each is) is defined by the blog schema.
4. Peek at the file on disk
Section titled “4. Peek at the file on disk”There is no database. Your blog post is a file. Open tcms-data/blog/ in your code editor and you’ll find a JSON file named after your post’s ID:
{ "id": "hello-total-cms", "title": "Hello, Total CMS", "summary": "A paragraph or two — whatever you like", "content": "A paragraph or two — whatever you like", "date": "2026-05-13T14:23:00", "draft": false}This is what we mean by flat-file. Your content lives on disk as JSON — version-controllable, copy-able, scriptable. The admin is just a UI for editing these files.
5. Write the template
Section titled “5. Write the template”We have a post; now we need a URL where visitors can see it.
Click Builder in the sidebar and click on the + New Template button. Use the following values:
| Field | Value |
|---|---|
| Type | Page |
| ID | posts |
Paste this into the code box:
{% extends 'layouts/default.twig' %}
{% block title %}Posts from {{ cms.config('domain') }}{% endblock %}
{% block content %}    <h1>Posts</h1>    {% for post in cms.collection.objects('blog') %}        <article>            <h2>{{ post.title }}</h2>            <p><small>{{ post.date | date('F j, Y') }}</small></p>            <div>{{ post.summary }}</div>        </article>    {% endfor %}{% endblock %}
Save the template. The admin writes the file to disk for you.
Prefer your own code editor? The template lives on disk at
tcms-data/builder/pages/posts.twig. Open it in VS Code, vim, or whatever editor you like — Total CMS picks up changes from either place. The admin editor and the filesystem are the same file.
6. Add a page in Site Builder
Section titled “6. Add a page in Site Builder”Now click on the + New Page at the bottom of the nav bar to create a page route for our template.
| Field | Value |
|---|---|
| Title | Posts |
| URL Path | /posts |
| Page Template | pages/posts.twig |
Save it.
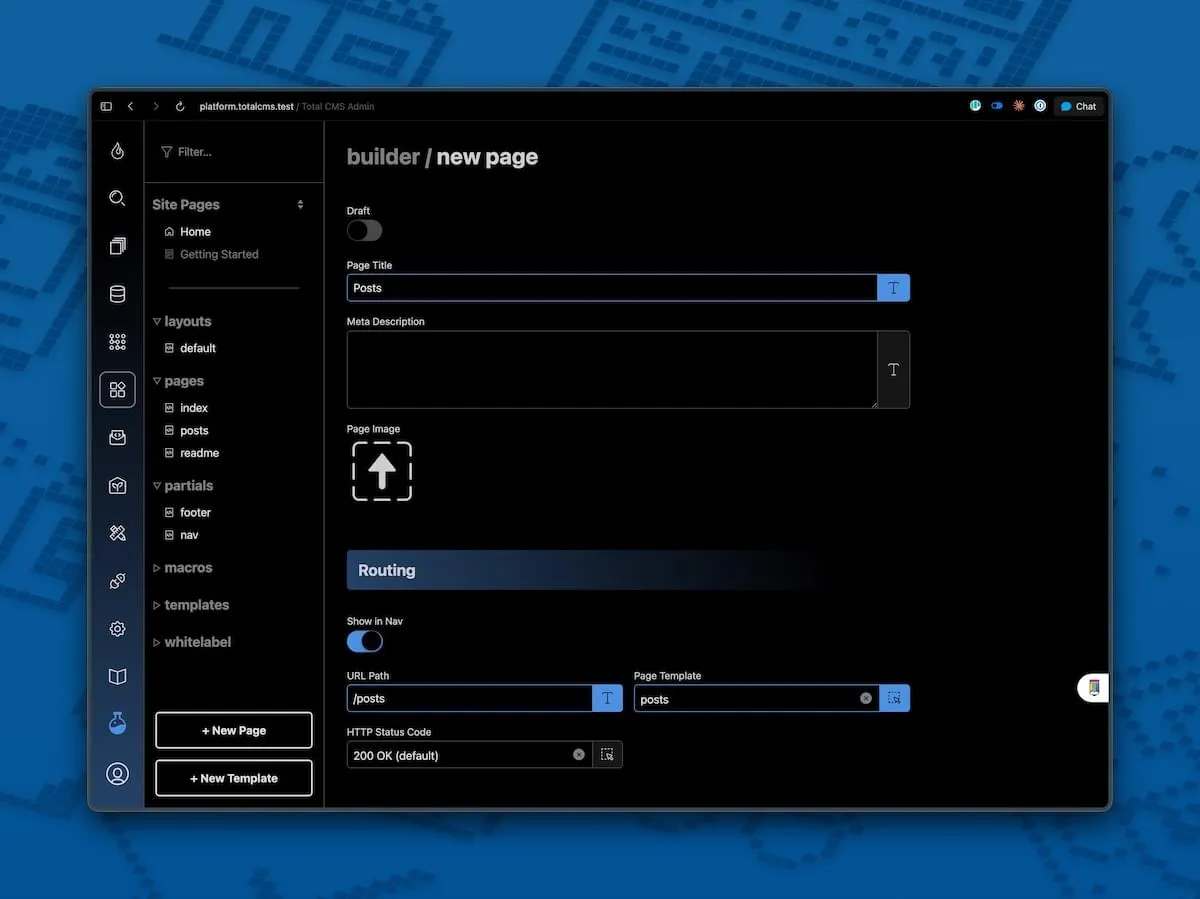
The page record now exists in the builder-pages collection (yes, builder pages are themselves objects in a collection). The router will send any request for /posts to the page template that we created pages/posts.
7. View your site
Section titled “7. View your site”Visit /posts on your install:
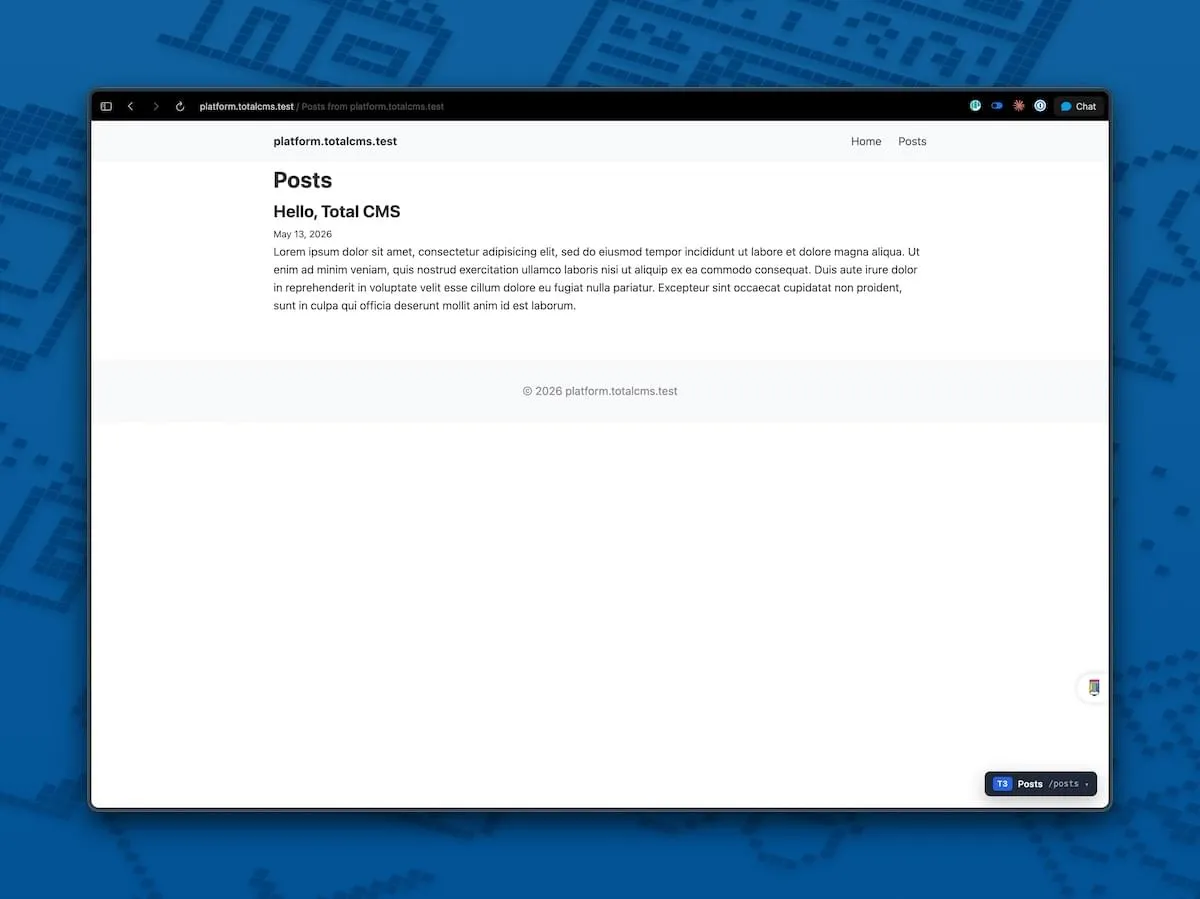
There’s your blog post, rendered by your template, served by Site Builder.
Add another post in the admin and refresh — it appears at the top of the list without you touching the template. The template is general; the content is data.
What just happened
Section titled “What just happened”In about 10 minutes you used every core piece of Total CMS:
| You did | What it’s called |
|---|---|
| Ran Project Setup → Setup Default Collections | Created the standard collections + their schemas |
| Added a record in the admin | Created an object in the blog collection |
| Filled in fields | Set the object’s properties |
| Saw the JSON file on disk | Saw flat-file storage in action |
Created a /posts page in Builder | Routed a URL to a template via the builder-pages collection |
| Wrote a Twig template | Used cms.collection.objects() to fetch records and render them |
Everything else in Total CMS — custom fields, forms, auth, extensions, APIs — builds on these foundations.
Where to next
Section titled “Where to next”- Site Builder Overview — page records, routes, templates in depth
- Twig Overview — the template engine and the
cms.*API surface - Collections — loading and filtering content in templates
- Collection Filtering — pagination, sorting, where-clauses for your post list
- Media — adding images and image variants to your posts
- Schemas — defining your own collection shapes (products, team members, anything)